
Sealants & Adhesives
Best Caulk for a Shower: Choose by Joint and Surface

Select the sealant for the joint, materials and water exposure.
In this guide
For the flexible joints inside a shower, start with a bathroom-rated silicone sealant explicitly approved for the surfaces and repeated water exposure. On many glazed-tile, glass and compatible tray joints, that makes a suitable sanitary 100% silicone a practical first choice. The label must confirm the intended use: the word silicone alone does not establish shower suitability.
The best caulk for a shower also depends on the joint’s job. A wall-to-tray junction, a tile corner and a framed enclosure may need different details. Choose the material after identifying those details, then prepare the joint and protect it through the specified cure period. This guide explains what to buy, where to use it and when recaulking will not solve the underlying problem.
Best shower caulk: a practical selection table
| Location or requirement | What to select | What to check before buying |
|---|---|---|
| Flexible joint between glazed tile and a shower tray | A bathroom-rated silicone approved for both surfaces. | Tray material, movement capability, preparation and water-exposure cure time. |
| Natural stone or a sensitive finish | A wet-area sealant expressly approved as compatible and non-staining for that material. | Stone type, adjacent coatings and a representative compatibility sample. |
| Shower frame or screen perimeter | The sealant specified by the enclosure system. | Which edges need sealing and which drainage openings must remain clear. |
| Painted trim outside the wet enclosure | A compatible paintable caulk approved for that location. | Expected splashing, movement and coating compatibility; do not transfer this choice into a wet shower joint. |
| Ordinary joints between tiles on one plane | The specified tile grout. | Keep designed movement joints separate from the rigid grout joints. |
Natural Resources Canada’s caulking guide describes silicone’s flexibility, its use on common nonporous surfaces and the availability of formulations for wet locations. That supports the starting choice above, while the exact product instructions establish whether a particular grade fits the shower in front of you.
Silicone, siliconized acrylic and grout have different jobs
A conventional acrylic decorating caulk is often convenient for paintable trim. That convenience does not make it the preferred choice for a moving joint exposed to shower water every day. A siliconized acrylic is also a distinct formulation; a small silicone addition does not automatically give it the same use limits as a sanitary silicone.
Read the actual application list rather than inferring performance from a familiar ingredient. A product may be suitable around a bathroom sink or outside a tub surround while having different restrictions for repeated direct water exposure. For wet shower joints, select a grade that expressly covers the service conditions and bonding surfaces.
Grout fills the joints within the tile field. A flexible sealant accommodates movement at details designed for it, such as certain corners and perimeter transitions. Replacing every grout line with caulk creates a different installation from the specified tile system. Likewise, packing a designed flexible joint with rigid grout can leave it unable to accommodate movement as intended.
For an overview of the cartridge categories, see HANHU’s silicone and acrylic sealant range. Use the category names to organize a shortlist, then match the selected grade to the actual wet-area joint and materials.
Match the sealant to both sides of the joint
Write down both surfaces, including their finishes. Glazed ceramic tile, glass, acrylic trays, composite shower bases, coated metal frames and natural stone are different bonding surfaces. A material that adheres to a tile sample may not adhere equally well to the adjacent tray or frame finish.
Silicone cure systems also differ. Acetoxy and neutral-cure products should be selected according to their documented compatibility with the materials involved. Neutral cure is not a blanket promise of suitability for every stone, coating or plastic. For a visible stone installation, confirm staining behavior as well as adhesion before completing the whole enclosure.
Consider movement separately from adhesion. A tray that flexes excessively or a loose wall panel can stress a new joint repeatedly. If the gap changes because the assembly is inadequately supported, replacing the bead with a stronger-sounding material does not correct the support. Identify and repair the moving component before treating repeated cracking as a cartridge-selection problem.
Decide which shower joints should be sealed
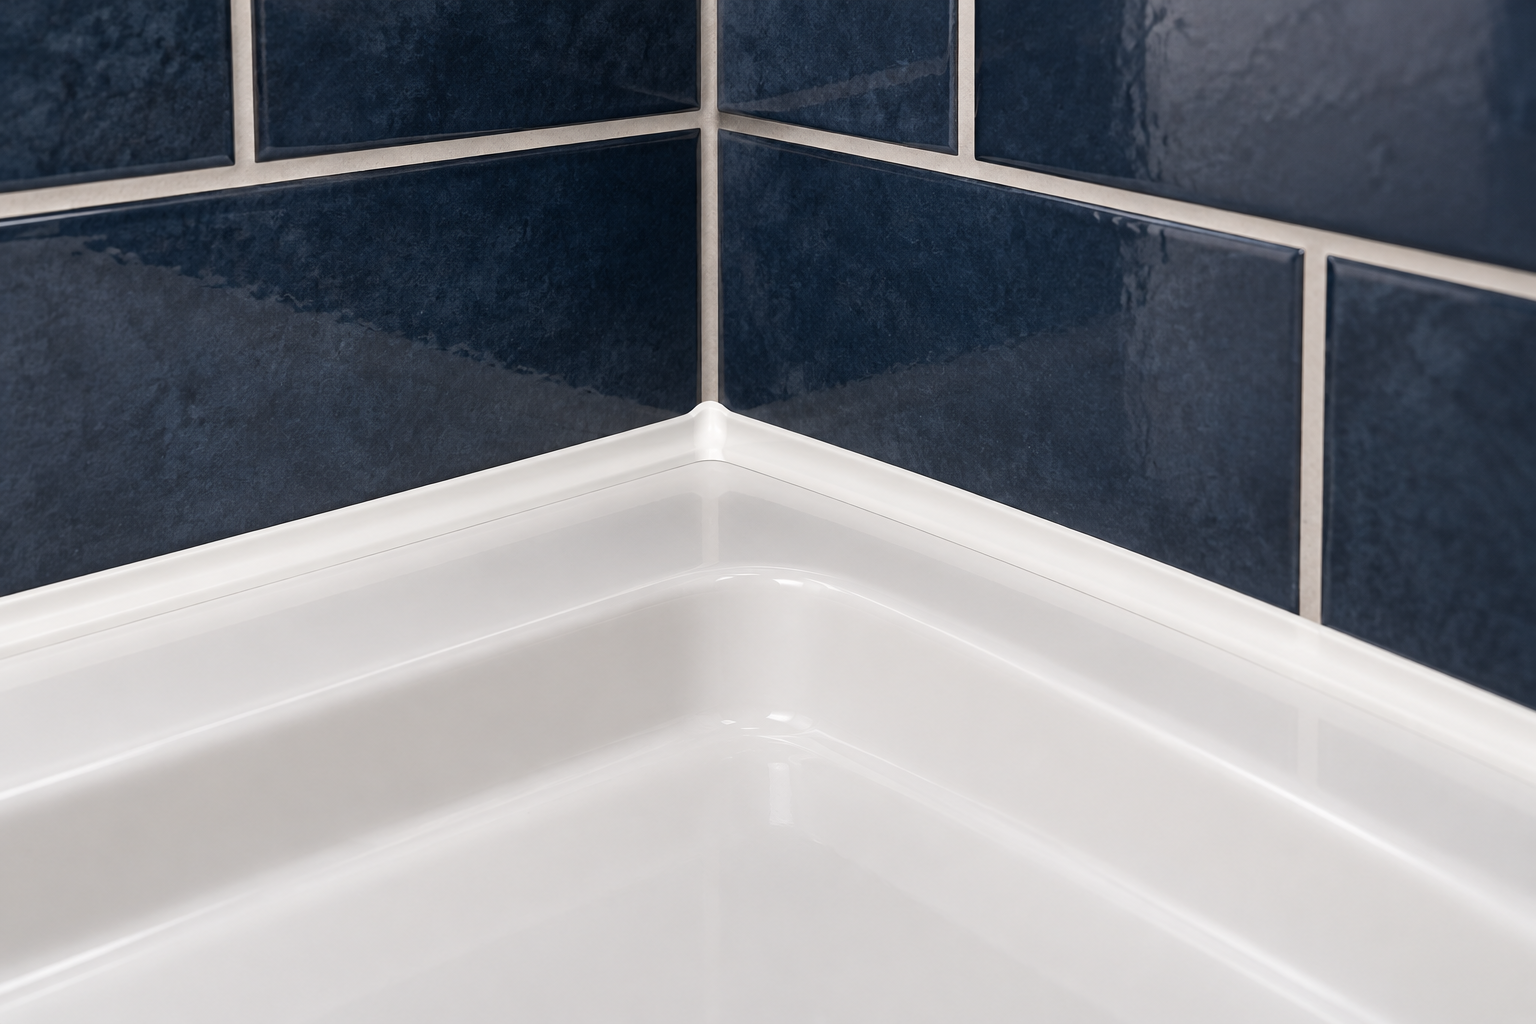
Use the shower-system detail to identify flexible joints, frame interfaces and drainage paths. A continuous bead is useful only where the assembly calls for one. Some enclosure profiles include drainage provisions that must stay open. Sealing every visible gap can obstruct the way that system is designed to shed water.
Treat drain connections, penetrations and waterproofing terminations according to their own installation details. Surface caulk cannot be assumed to repair a failed membrane connection or an incorrectly assembled drain. If water is appearing in another room or below the shower, identify the leak path before applying another visible bead.
The U.S. Department of Energy’s Building Science Education guidance emphasizes moisture-resistant backing behind tiled or paneled shower enclosures. That is a separate layer of moisture management. A neat surface joint helps at its intended location; the backing and waterproofing arrangement still need to function as a complete assembly.
Replace a failed shower bead in the right order
First inspect the failure. A bead lifting from one edge suggests checking that bonding surface and preparation. A split through the bead raises questions about movement or joint geometry. Dampness behind the joint, loose finishes or recurring leakage needs investigation before the gap is closed again.
Remove the failed bead and incompatible residue using methods suitable for the tray, tile and frame. Avoid damaging the bonding faces or the waterproofing behind them. A thin new layer spread over old silicone is not a reliable default repair because its bond depends on the old material and whatever contamination remains on it.
Clean the joint according to the sealant and surface instructions, remove cleaning residue as required, and allow the surfaces to reach the specified condition for application. Use the prescribed primer when needed. If mold is present, address the moisture source and appropriate cleanup before recaulking. EPA guidance specifically advises against caulking over moldy surfaces.
Then form the joint to the required dimensions and backing detail. Apply a continuous bead that makes proper contact with both intended bonding faces, and tool it within the product’s working time. Use only an approved tooling method; household soap mixtures or improvised solvents can introduce residues or affect sensitive surfaces.
Finally, protect the joint until the product permits water exposure. Keep the installation instructions available for the handover so the first shower, cleaning visit or inspection does not disturb the curing bead.
How long should shower caulk cure before getting wet?
Use the selected product’s stated water-exposure time under the actual installation conditions. Skin formation, a dry surface and readiness for a shower are different stages. A bead that feels finished at the outside may still be curing beneath it, especially where the joint is deeper than the tested application.
Temperature, humidity and joint dimensions can affect curing. A prominently printed fast water-ready claim should be read together with its conditions and exclusions. Do not replace those instructions with a universal overnight or next-day rule. Schedule the work when the enclosure can remain out of use for the full required period.
For a rental, hotel or other frequently used bathroom, include that closure in the maintenance plan. Protecting the cure is usually simpler than reopening a joint that was exposed too early. Note the product grade, application date and permitted return to water exposure so the next person managing the room has a clear instruction.
Mold-resistant caulk still needs moisture control
Mold-resistant does not mean that a shower can remain dirty and wet indefinitely. The material choice belongs alongside drainage, ventilation and cleaning. A surface bead also cannot solve hidden dampness caused by a leak behind the enclosure. If discoloration returns quickly or accompanies a musty smell, investigate the source rather than repeatedly covering the symptom.
Health Canada recommends using bathroom exhaust ventilation, keeping surfaces clean and dry, and maintaining damaged grout and caulking. Its guidance also advises keeping the exhaust fan running after bathing. Follow those measures as routine maintenance rather than relying on a sealant label to manage the whole bathroom environment.
Use cleaners compatible with the tray, grout, metal finishes and cured sealant. Inspect bead edges as part of cleaning: a gap opening along an edge is more informative than colour alone. If the sealant is intact but the enclosure stays wet for long periods, improving drying and ventilation addresses a different problem from replacing an otherwise sound joint.
Build a useful shower-sealant purchasing checklist
For a multi-room maintenance order, separate joints by substrate and enclosure model before grouping purchases. Keep an approved sample and the relevant document revision with each selection. A visually identical replacement tray can have a different surface material. If the tray, finish or sealant grade changes, review compatibility again rather than carrying the previous approval across automatically. Retain the removal and preparation instructions with the order, so the installation team receives the method as well as the cartridges.
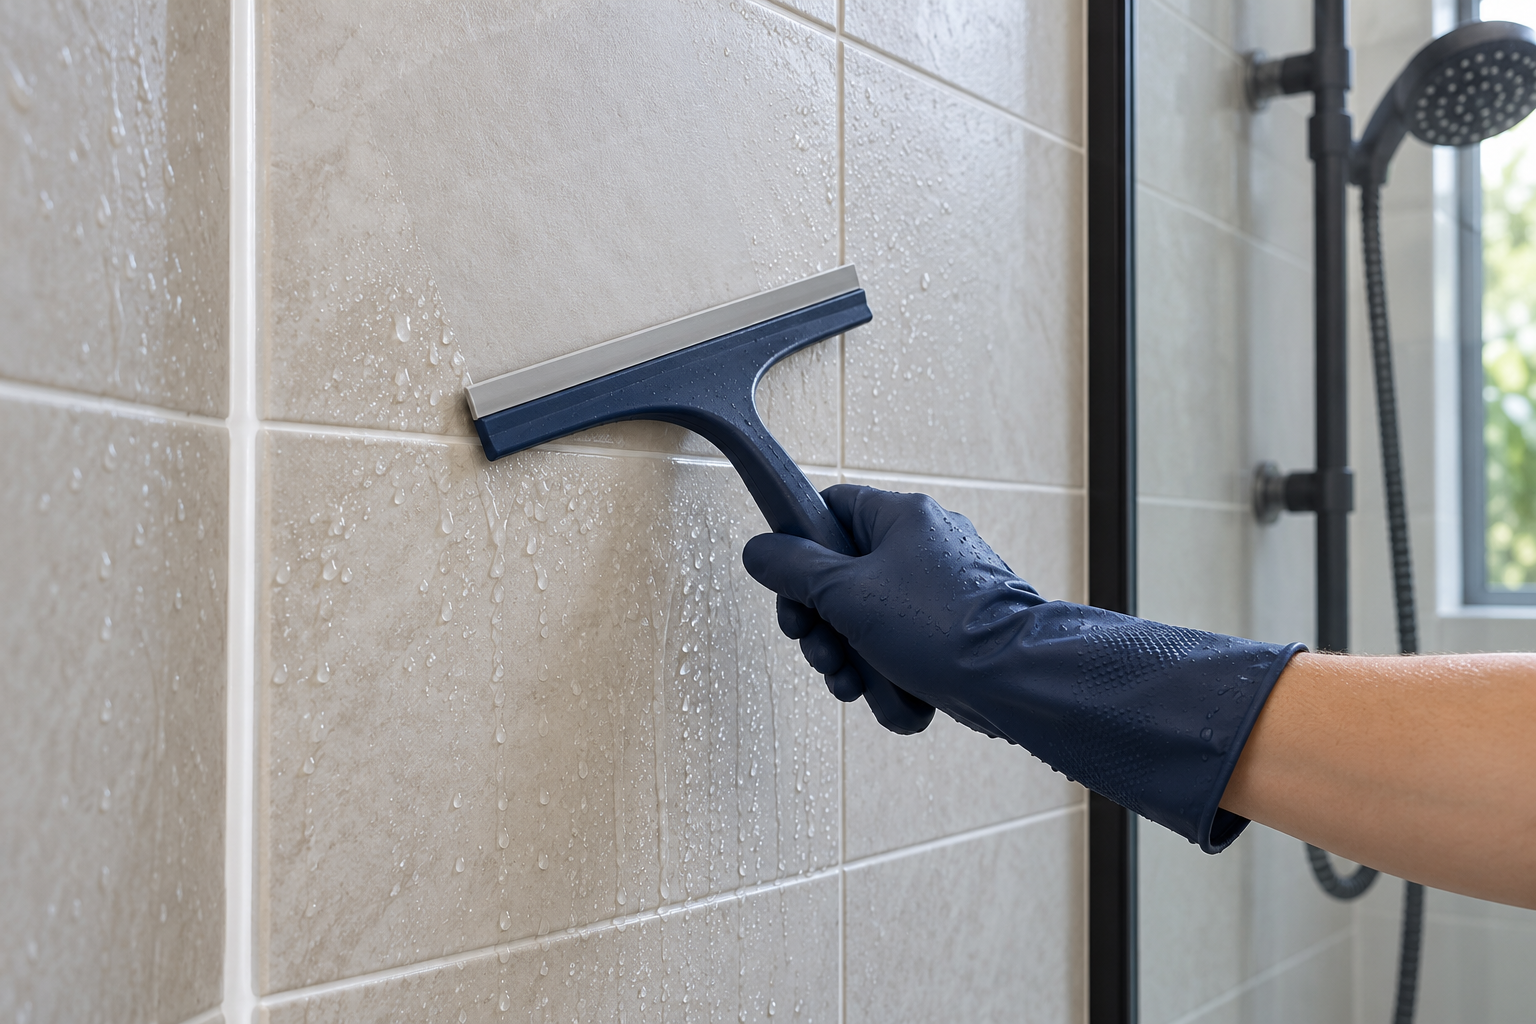
Before ordering, record the location, both substrates, finishes, approximate joint size and colour. Add any special requirements for natural stone, visible metal or an enclosure system. Ask for the current technical and safety data sheets, preparation instructions, compatible primer if needed and the required cure before water exposure.
Compare candidates against those requirements before comparing price. A cheaper cartridge is not an equivalent option if it excludes one of the surfaces or the expected water exposure. Include removal, preparation and bathroom closure when estimating the repair cost. Those tasks remain necessary even if the replacement material has a higher initial grab or a shorter advertised cure.
For a product discussion, send the shower-joint materials and application details to HANHU. Photos of the gap and the adjacent finishes help make the enquiry specific. Include the planned work schedule so any proposed installation method can be assessed against the available closure time.
Frequently asked questions about the best caulk for a shower
Is 100% silicone the best caulk for every shower?
A suitable bathroom-rated 100% silicone is a practical starting point for many flexible shower joints. It still needs approval for both surfaces and the intended exposure. Natural stone, sensitive plastics and proprietary enclosure details may change the exact grade required.
Can I use paintable acrylic caulk inside a shower?
Use it only if that specific product expressly permits the wet-area application and movement involved. Ordinary decorating caulk should not be selected simply because it is easy to paint. A bathroom-rated flexible sealant is the more relevant starting point for directly wetted perimeter joints.
Should shower corners be grouted or caulked?
Follow the tile-system movement-joint detail. A corner specified as a flexible joint needs the compatible sealant and geometry in that detail. Ordinary grout belongs in the tile field; the visible colour match does not make the two materials interchangeable.
Can new silicone go over old shower silicone?
Remove failed or incompatible material and prepare the surfaces for the replacement system. Applying a thin overlay is not a dependable default repair. A clean-looking old bead can still leave an unsuitable bonding surface or hide the cause of the original failure.
Why does mold return after recaulking?
Persistent moisture, residue or hidden leakage may remain after the surface bead has been replaced. Inspect the enclosure, improve drying and ventilation, and address damaged joints or water entry. Where hidden dampness or extensive mold is suspected, seek an appropriate assessment rather than sealing over it.
Choose a wet-area joint system that can be maintained
Select a shower-rated sealant for the actual materials, put it only in the joints specified for it, and allow the complete required cure before use. Combine that installation with sound waterproofing, clear drainage paths and routine drying. Those steps make the best shower-caulk choice useful beyond the day the new bead is applied.
References and further reading
- Natural Resources Canada — Keeping the Heat In, Section 3 — Caulking materials, surface compatibility and wet-location silicone formulations.
- U.S. Department of Energy — Shower enclosure backing — Moisture-resistant backing and complete interior moisture management.
- U.S. Environmental Protection Agency — Mold, Moisture and Your Home — Moisture control and preparing mold-affected surfaces before caulking.
- Health Canada — Addressing Moisture and Mould Indoors — Bathroom ventilation, drying and maintenance guidance, including Appendix A.